Introduction
Building a WordPress site locally is a great way to develop, test, and refine your website before making it live. LocalWP (formerly Local by Flywheel) is a powerful and user-friendly tool that allows you to create a local WordPress environment with just a few clicks. Once your site is ready, migrating it to a web server can be efficiently done using the Duplicator plugin.
In this step-by-step tutorial, we’ll guide you through:
- Setting up LocalWP for local WordPress development
- Developing your website locally
- Migrating your WordPress site to a live server using the Duplicator plugin
By the end of this tutorial, you’ll be able to create and launch WordPress websites seamlessly.
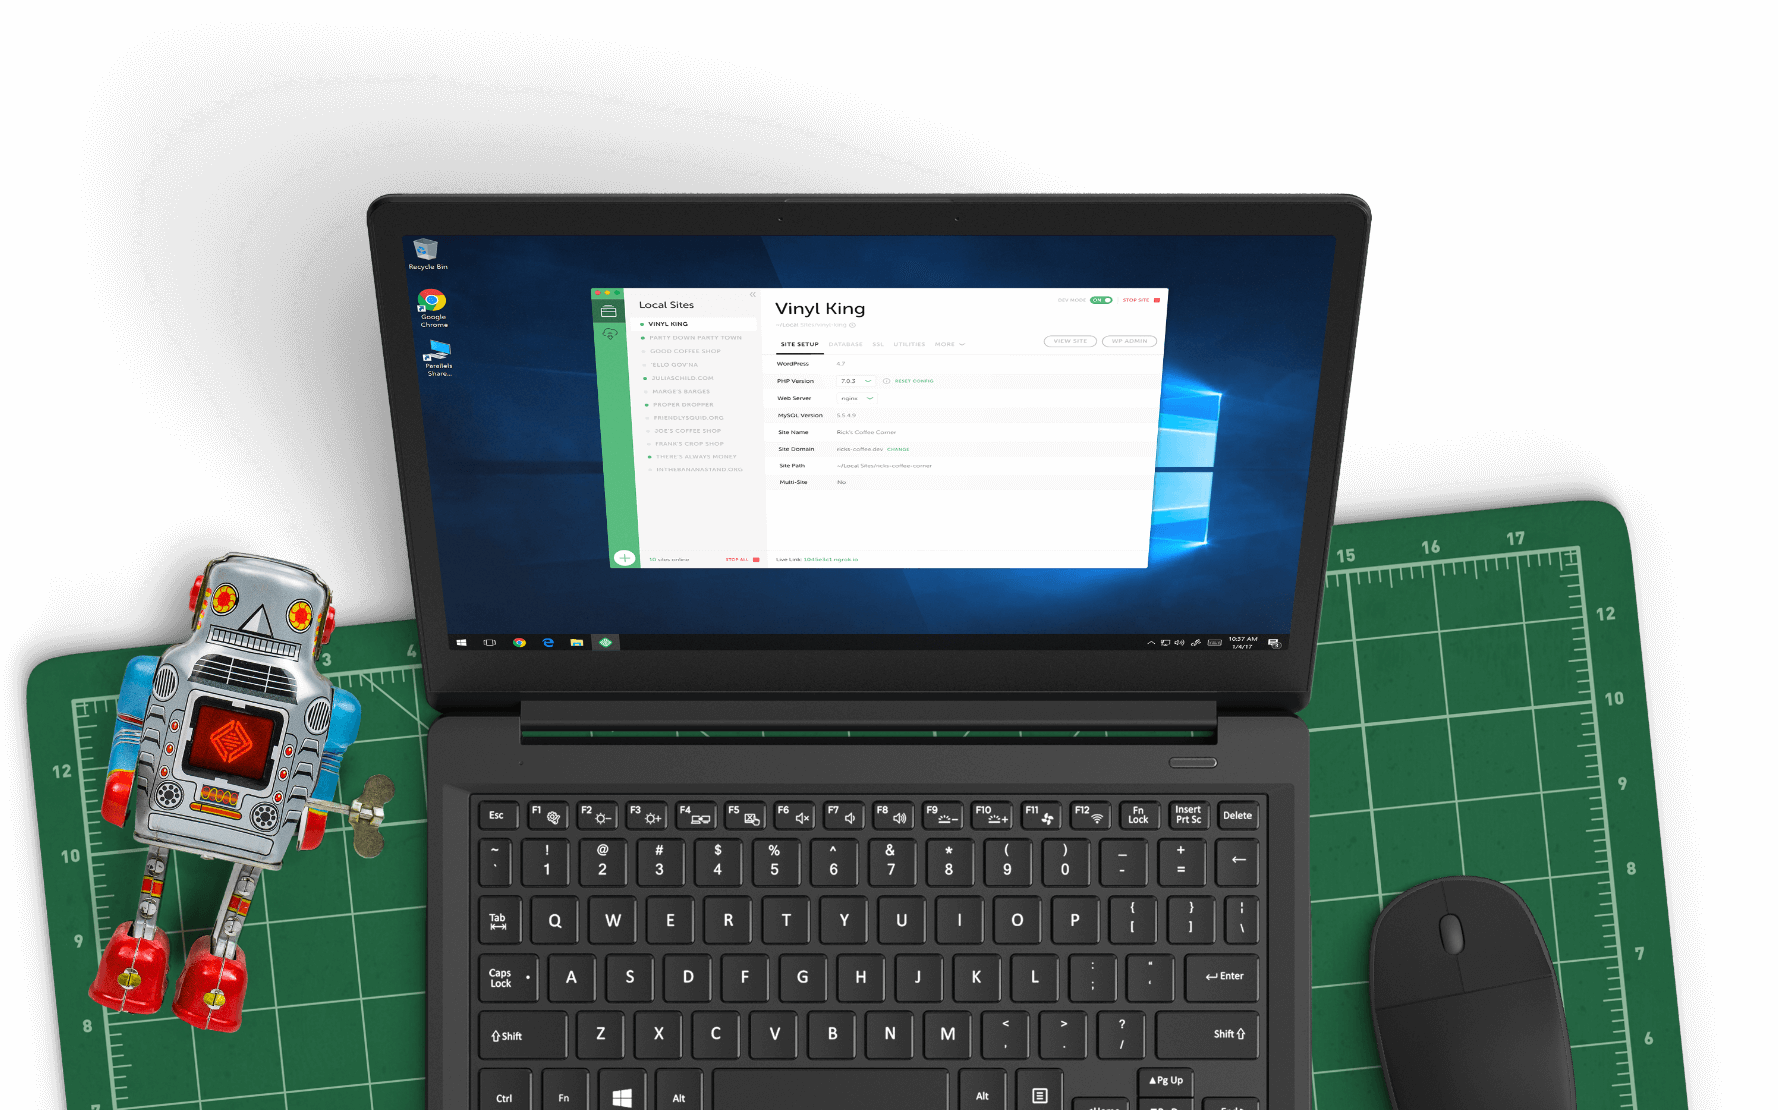
Step 1: Install LocalWP and Set Up a Local WordPress Site
1. Download and Install LocalWP
- Go to the LocalWP official website and download the installer for your operating system (Windows, macOS, or Linux).
- Install the application by following the on-screen instructions.
- Open LocalWP after installation is complete.
2. Create a New WordPress Site Locally
- Click on “Create a New Site”.
- Choose “Create from Scratch” and click Continue.
- Enter your site name (e.g., “MyLocalSite”).
- Choose Preferred Environment (PHP, MySQL, and web server settings will be pre-configured for optimal performance).
- Set up your WordPress admin credentials (username, password, and email).
- Click “Add Site”, and LocalWP will set up everything automatically.
Once your site is created, you can access it by clicking “Open Site” or by going to Admin Dashboard to start building your website.
Step 2: Develop Your WordPress Website Locally
Now that your local environment is ready, you can start designing and developing your site using:
- WordPress themes and plugins
- Custom code modifications
- Page builders like Elementor or Gutenberg
The advantage of using LocalWP is that it allows you to work offline, making development faster without affecting a live website.
Step 3: Prepare for Migration Using Duplicator
Once your site is complete, you need to migrate it to a web server. The easiest way to do this is by using the Duplicator plugin.
1. Install and Activate the Duplicator Plugin
- Go to Plugins > Add New in your WordPress dashboard.
- Search for Duplicator and click Install Now.
- After installation, click Activate.
2. Create a Backup Package
- Navigate to Duplicator > Packages and click Create New.
- Click Next and let the plugin scan your site.
- Once the scan is complete, click Build.
- After the process is finished, download the Installer.php file and the archive .zip file.
Step 4: Upload Your Site to the Web Server
To migrate your site to your hosting provider, follow these steps:
1. Upload the Backup Files
- Log in to your web hosting cPanel or use an FTP client like FileZilla.
- Upload both Installer.php and the .zip archive to the root directory of your website (e.g.,
public_html).
2. Run the Installer
- Open your browser and go to
https://yourdomain.com/installer.php. - Follow the on-screen instructions to extract and install your website.
- Enter your database details (provided by your hosting provider) and click Next.
- Let the installation complete, then log in to your live WordPress site.
3. Finalize and Test Your Live Website
- Navigate to Settings > Permalinks and click Save Changes to refresh URLs.
- Verify that all pages, links, and media are working correctly.
- Remove any unnecessary files, such as
installer.php, for security reasons.
Conclusion
LocalWP makes WordPress development easy and efficient, while Duplicator simplifies the migration process. By following these steps, you can build and deploy WordPress websites with confidence.
Now that you know how to set up LocalWP and migrate your site to a live server, you can start building your next project with ease!
If you have any questions or encounter any issues, feel free to leave a comment below. 🚀